Access badge setup instructions
What is Access Badge in a digital wallet?
An Access Badge, or Employee Badge, in a digital wallet is a solution for both Apple- and Google Wallet where supported phones and smartwatches can take on the functionality of your plastic access card.
Anywhere you can swipe your plastic access card, you will be able to use your iPhone or Apple Watch.
What do I need to get started?
Issuing to Apple device (iPhone, Apple Watch)
- iPhone 6s, iPhone 6s Plus or later running the latest version of iOS
- Apple Watch Series 3 or later running the latest version of watchOS
- Apple ID signed into iCloud
- The AMPid App
Issuing to Android device
NOTE
More information to come
How do I add my Access Badge to a digital wallet
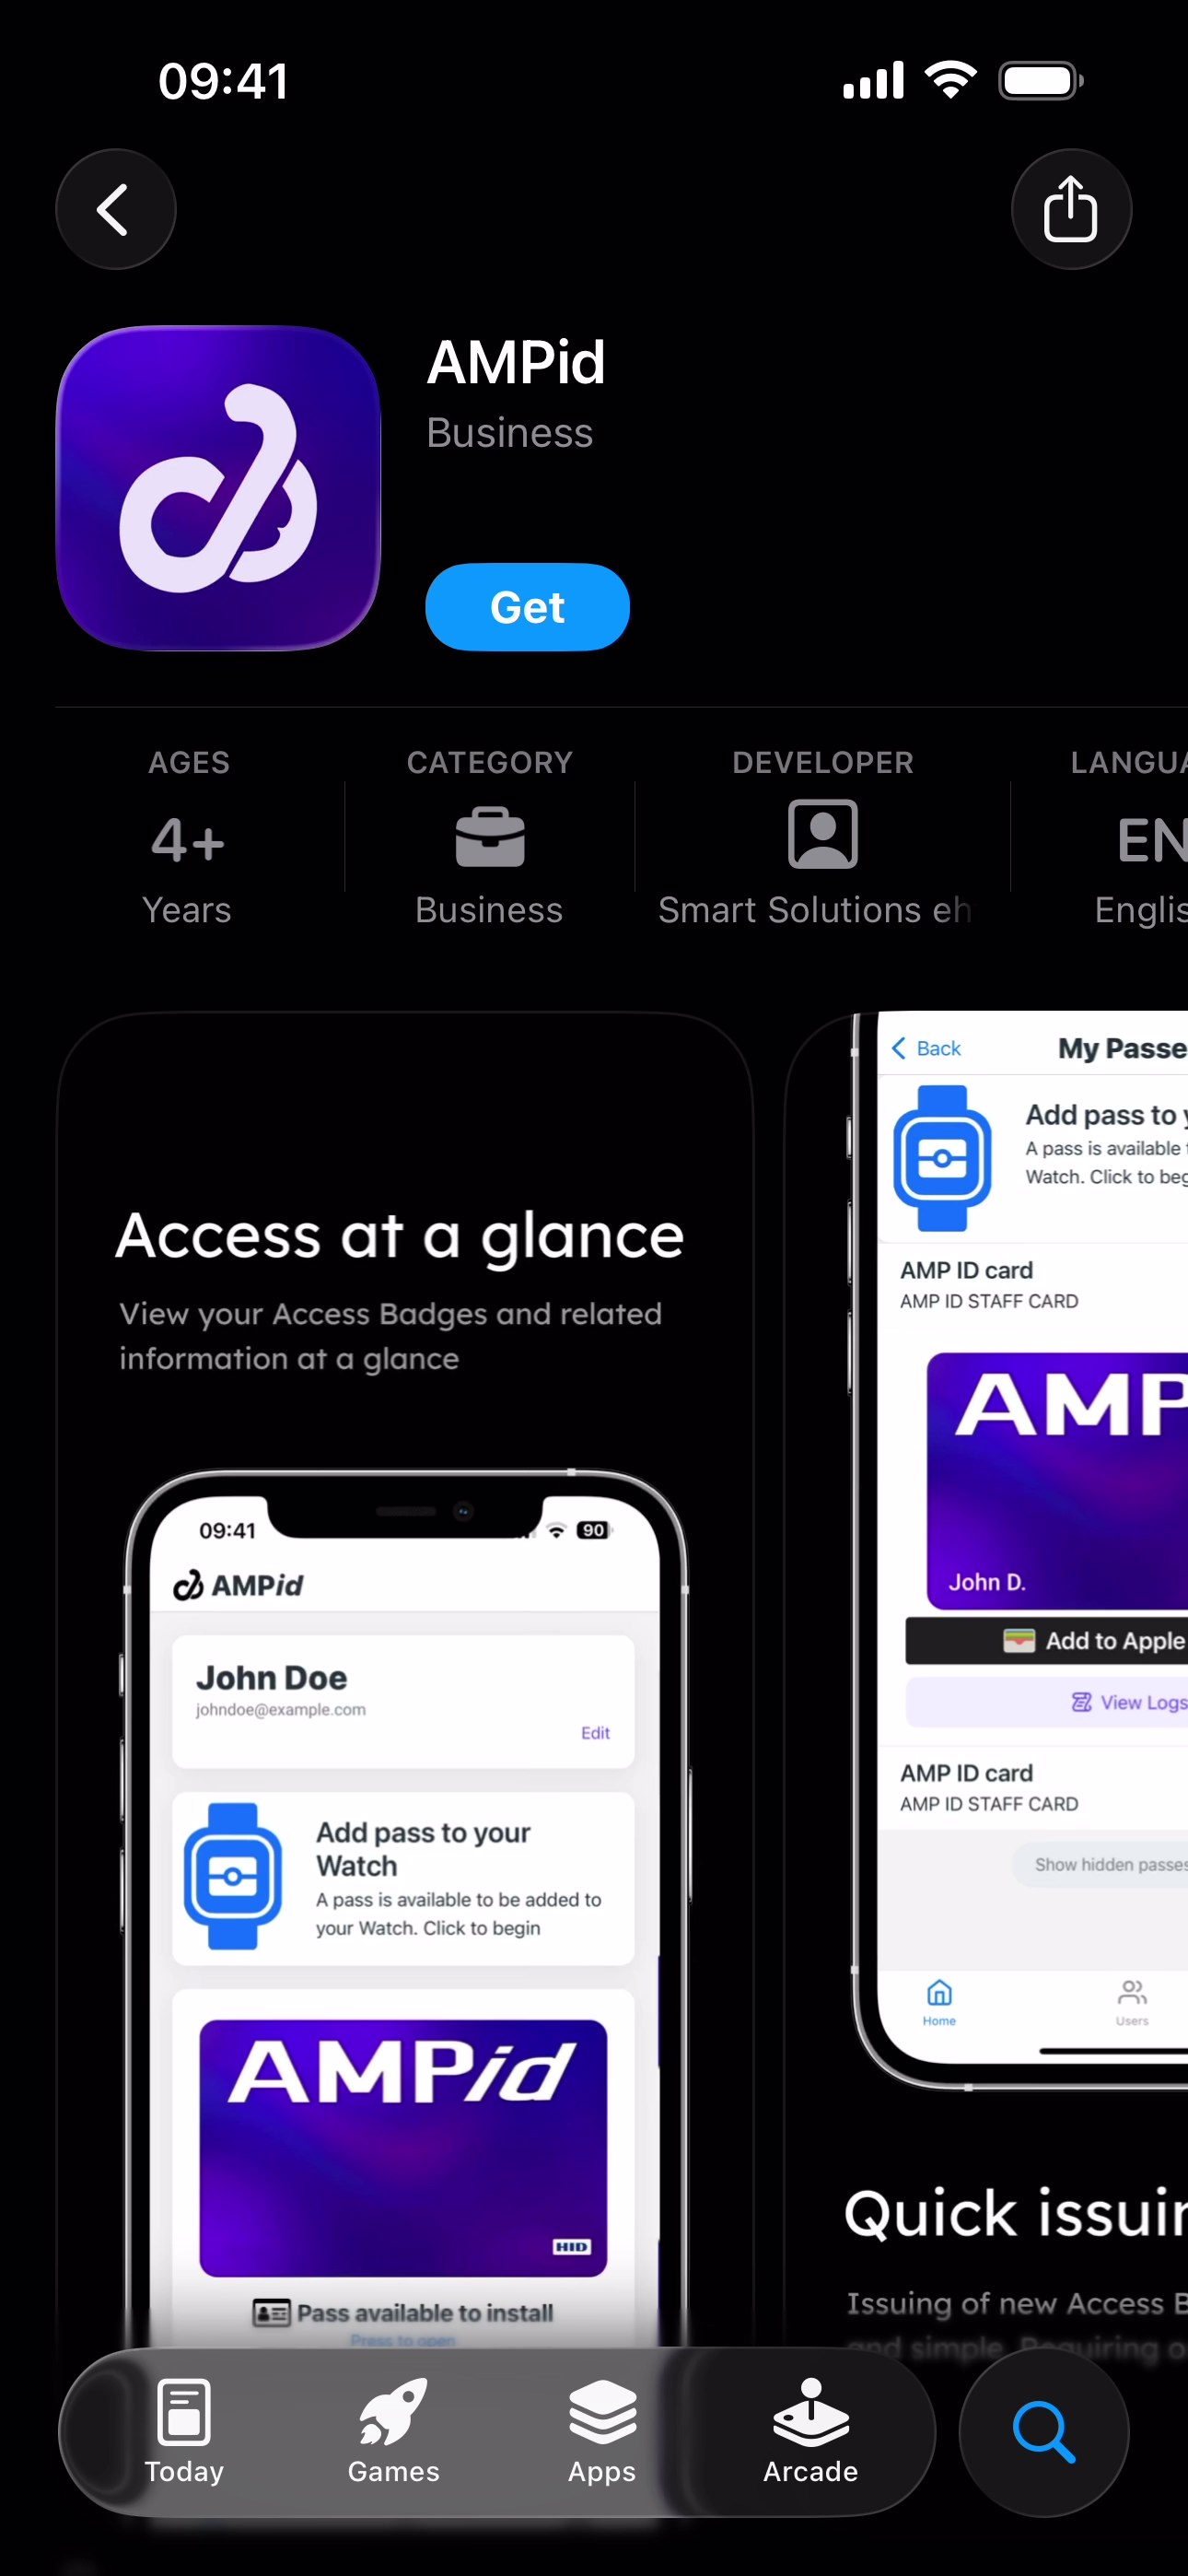
1. Get the AMPid app through the App Store
2. Enter your organisation's unique identifier
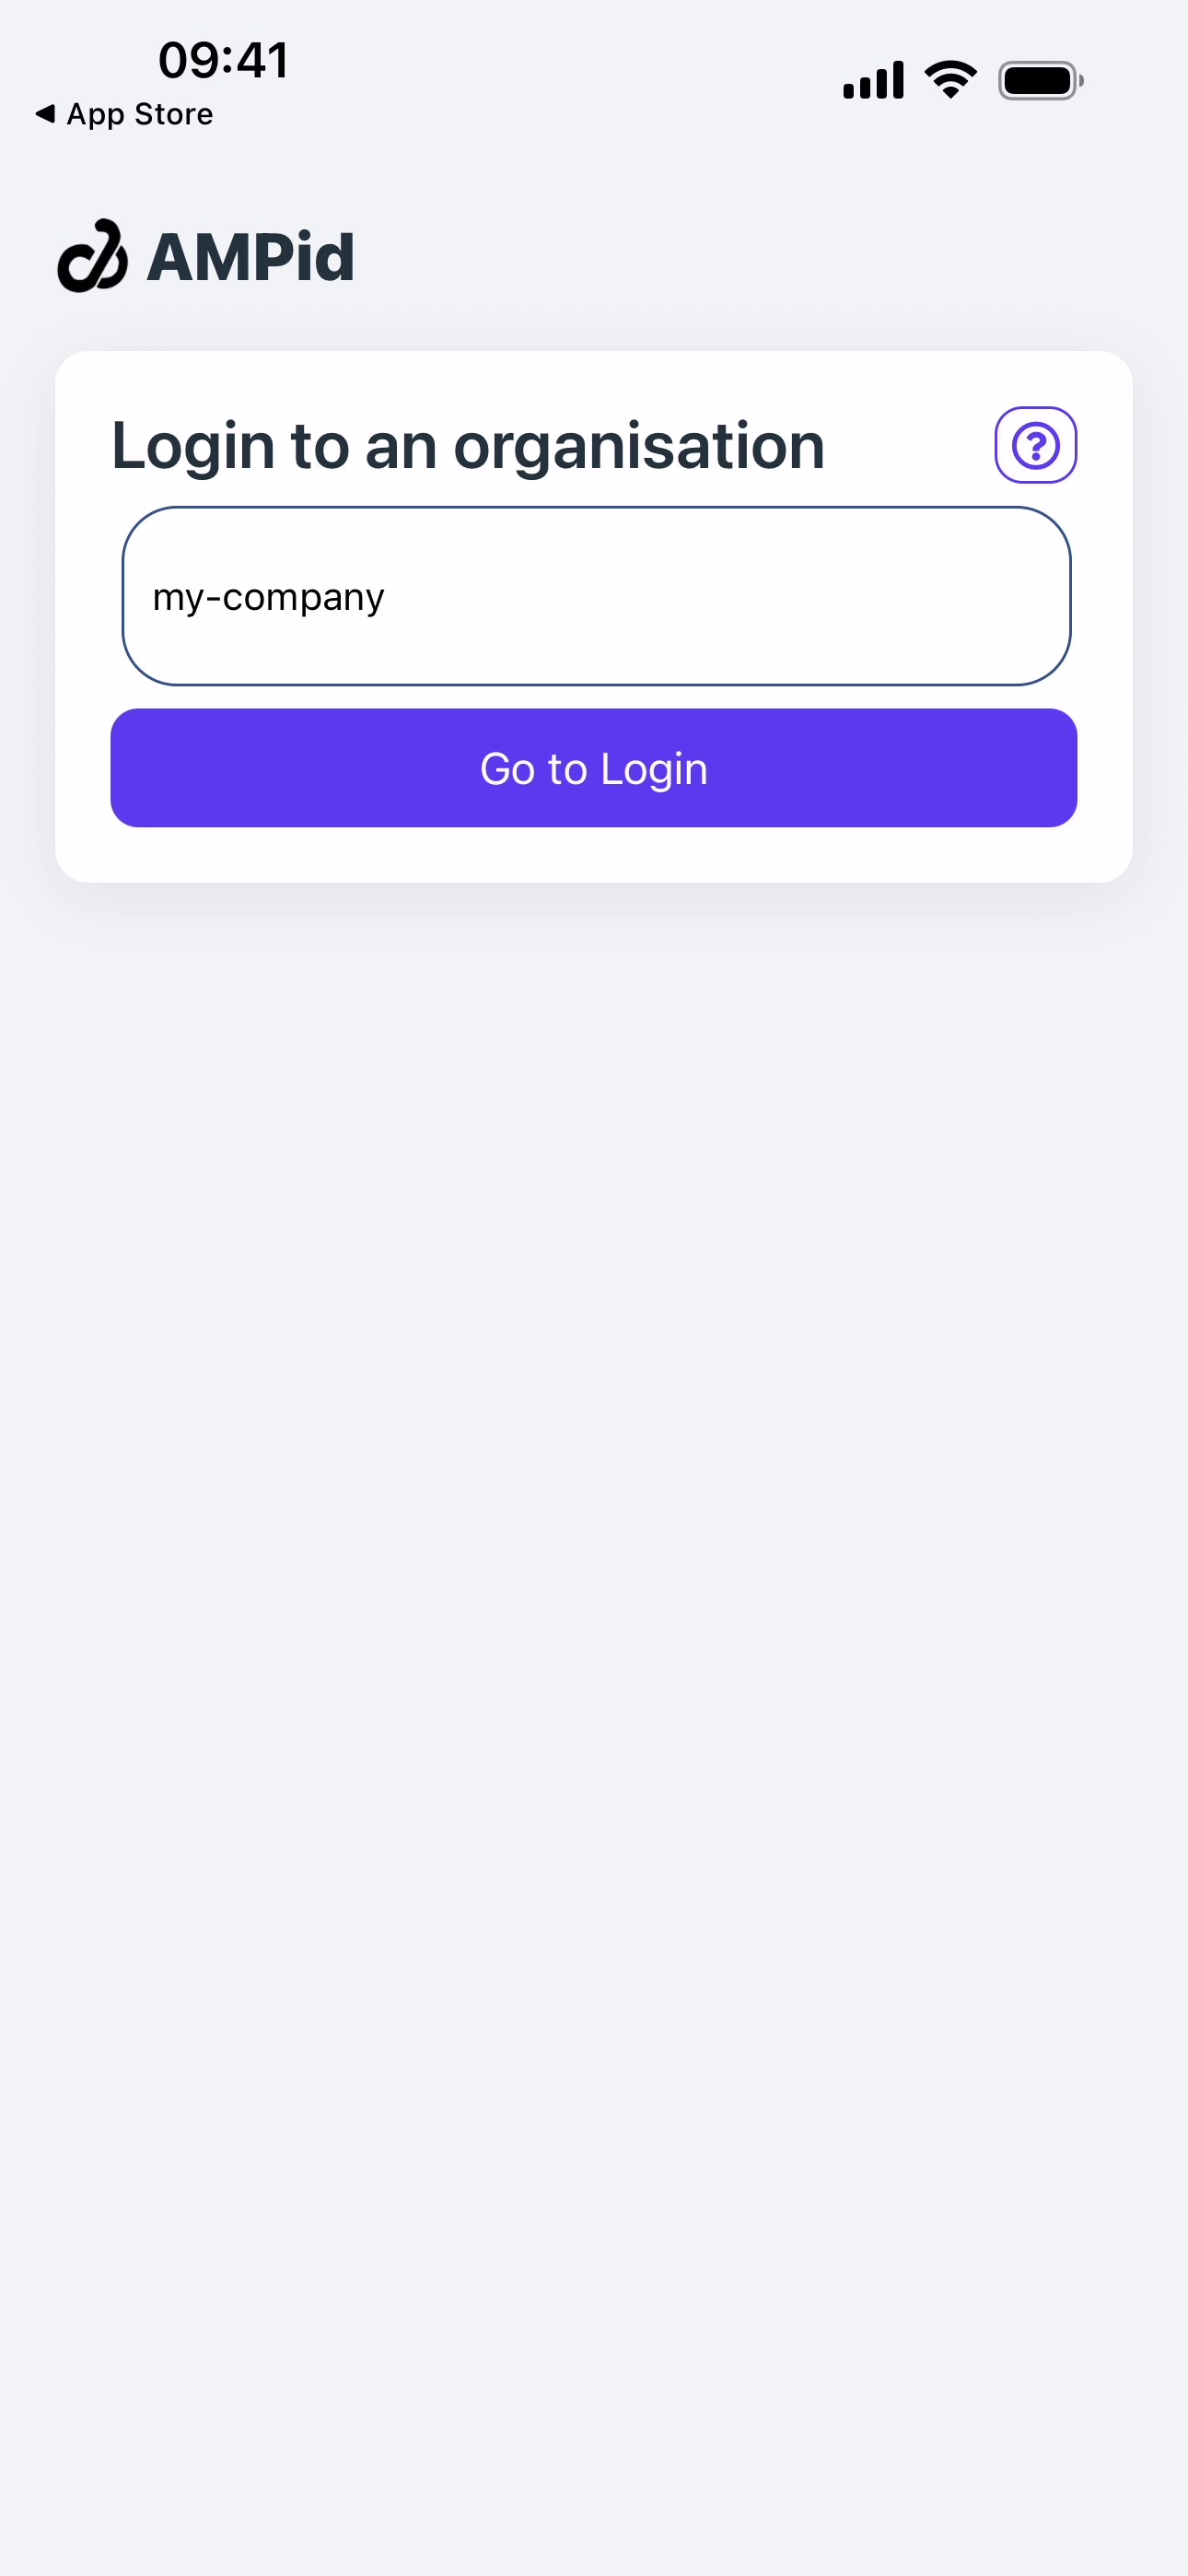
Enter organisation's identifier
NOTE
Your organisation's identifier is a short text your organisation has selected. The identifier only includes letters from the latin alphabet(embed) as well as a dash(-) and an underscore(_).
That is, only letters in the range A-Z as well as - and _.
No special characters are allowed in the identifier.
3. Login
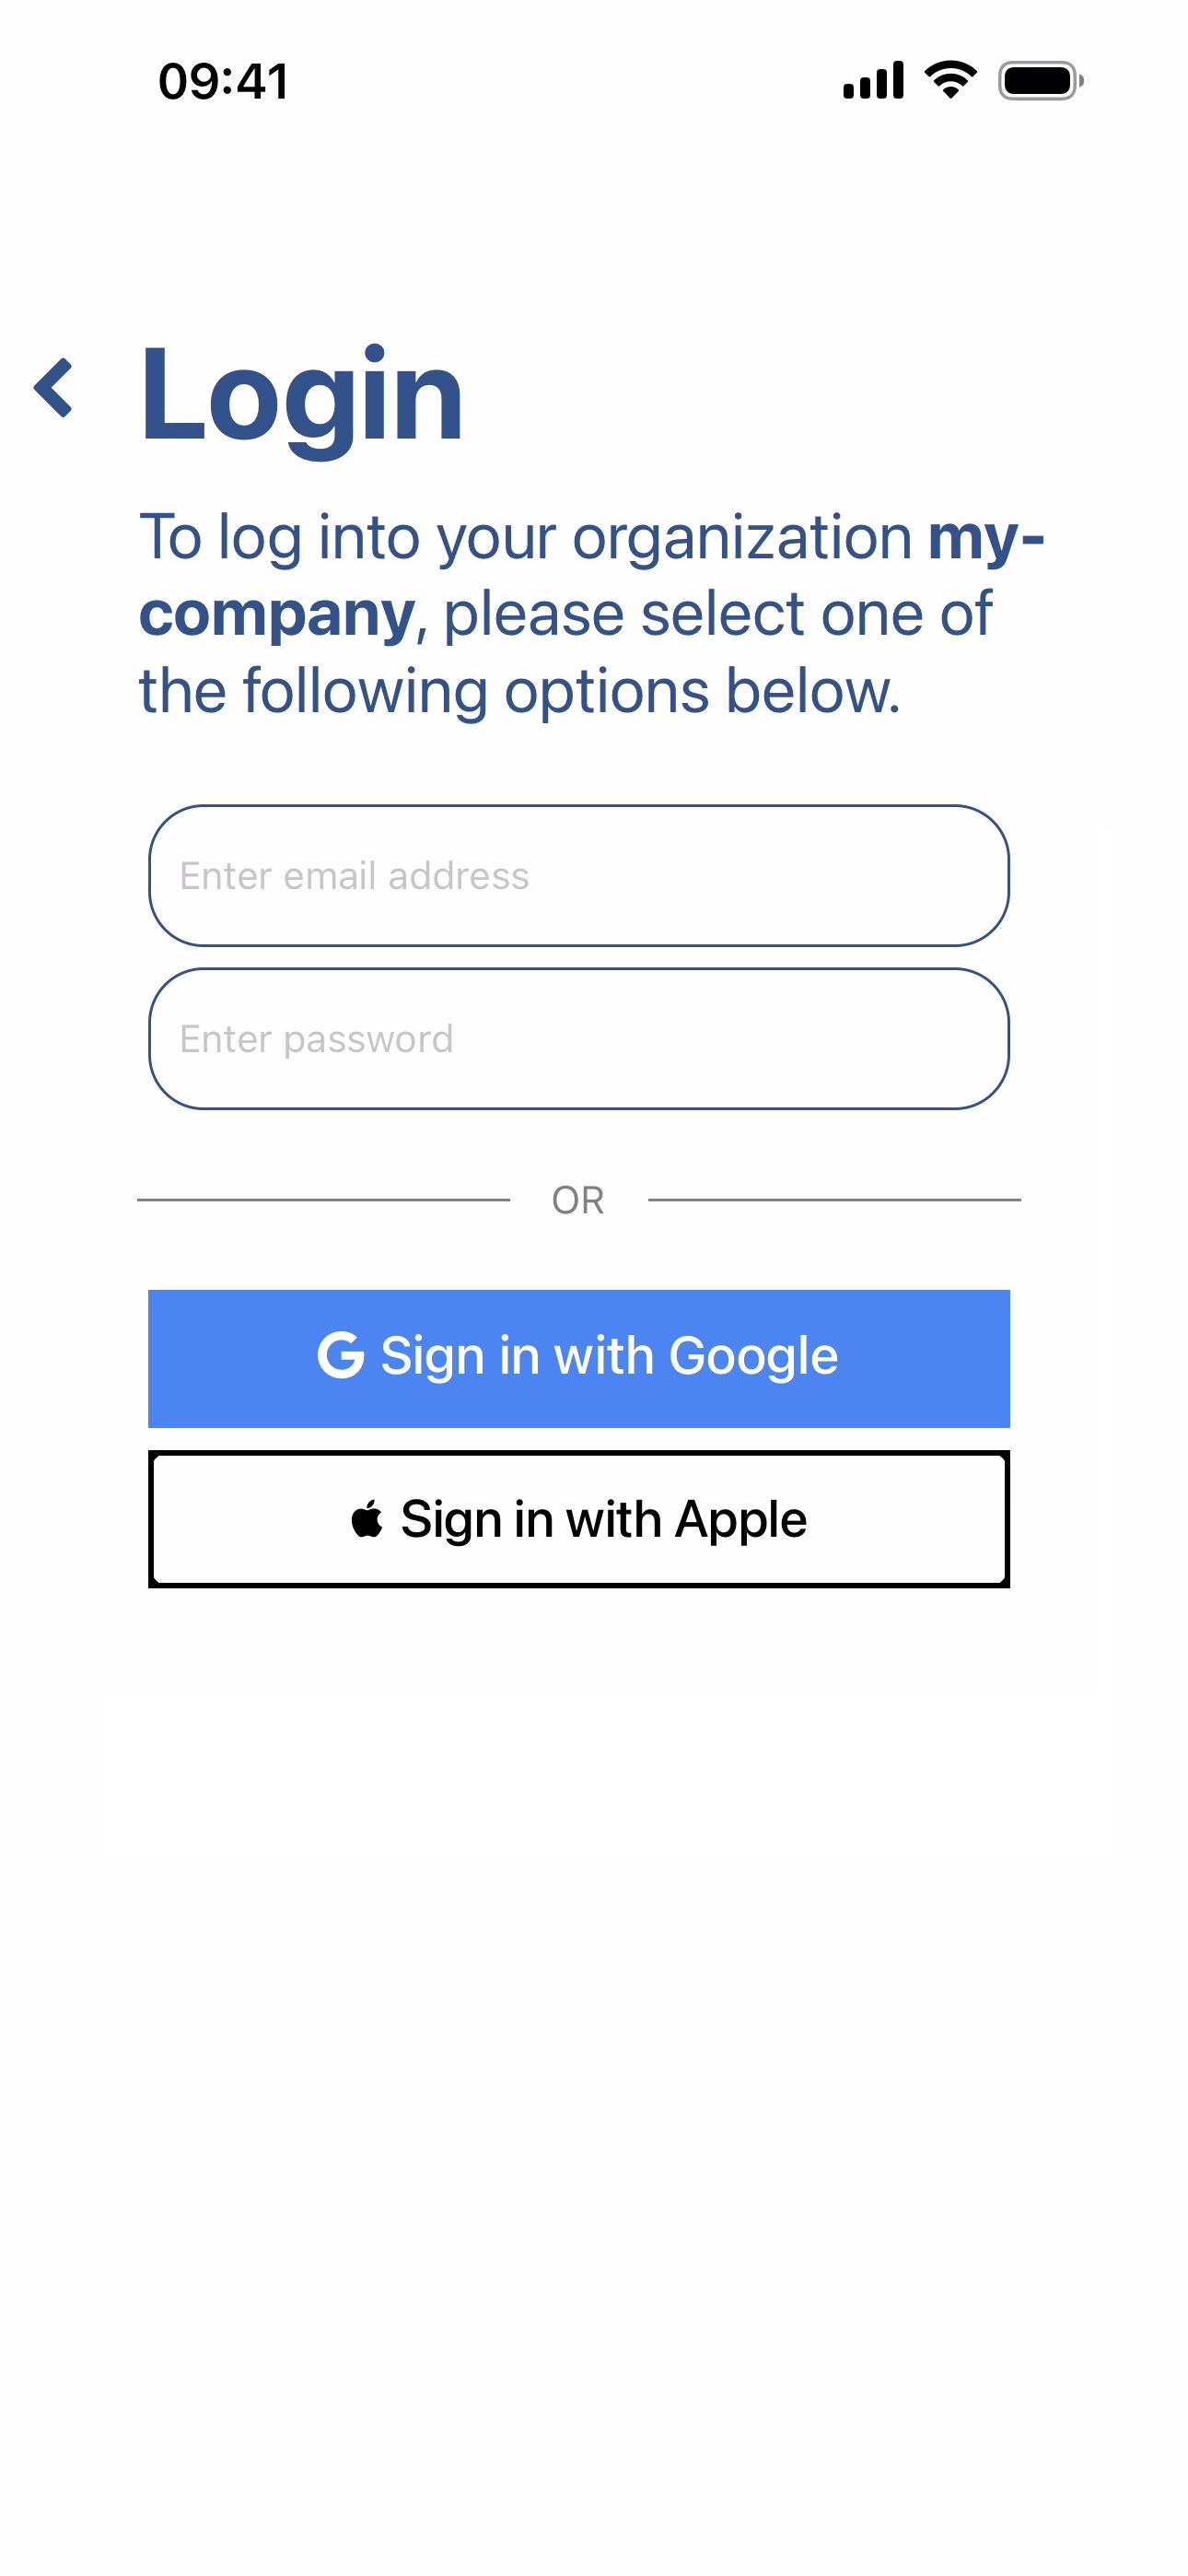
The Login page
NOTE
Each organisation's authentication methods can be different, so the image above may not match your sign-in page.
Choose the authentication method that is available and you know.
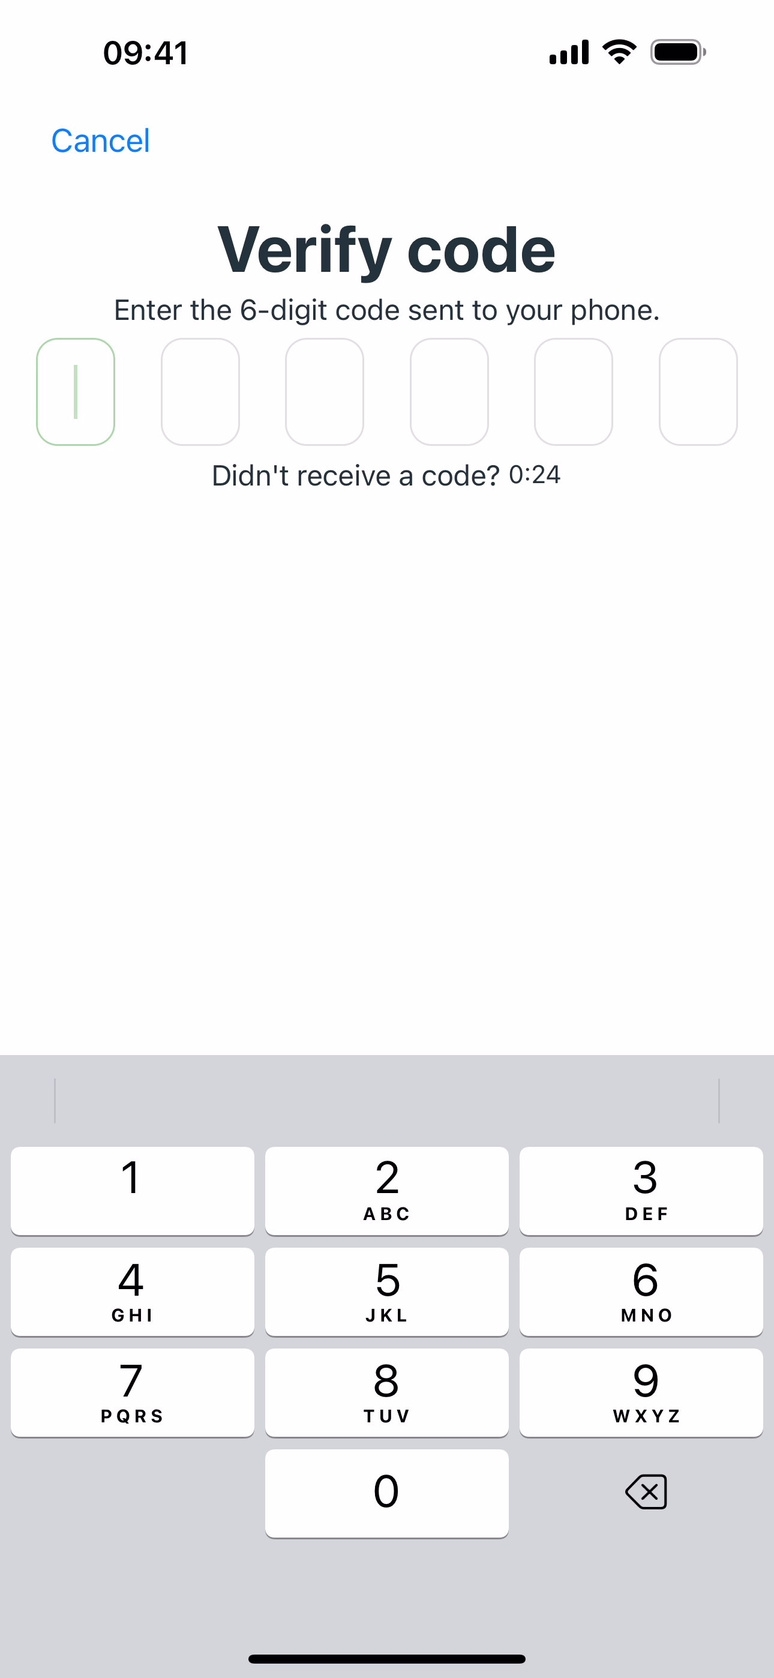
4. Two-Factor authentication (2FA)
AMPid uses two-factor authentication.
Simply enter your phone number and press "Send code".
Then enter the code you received via SMS to confirm authentication.
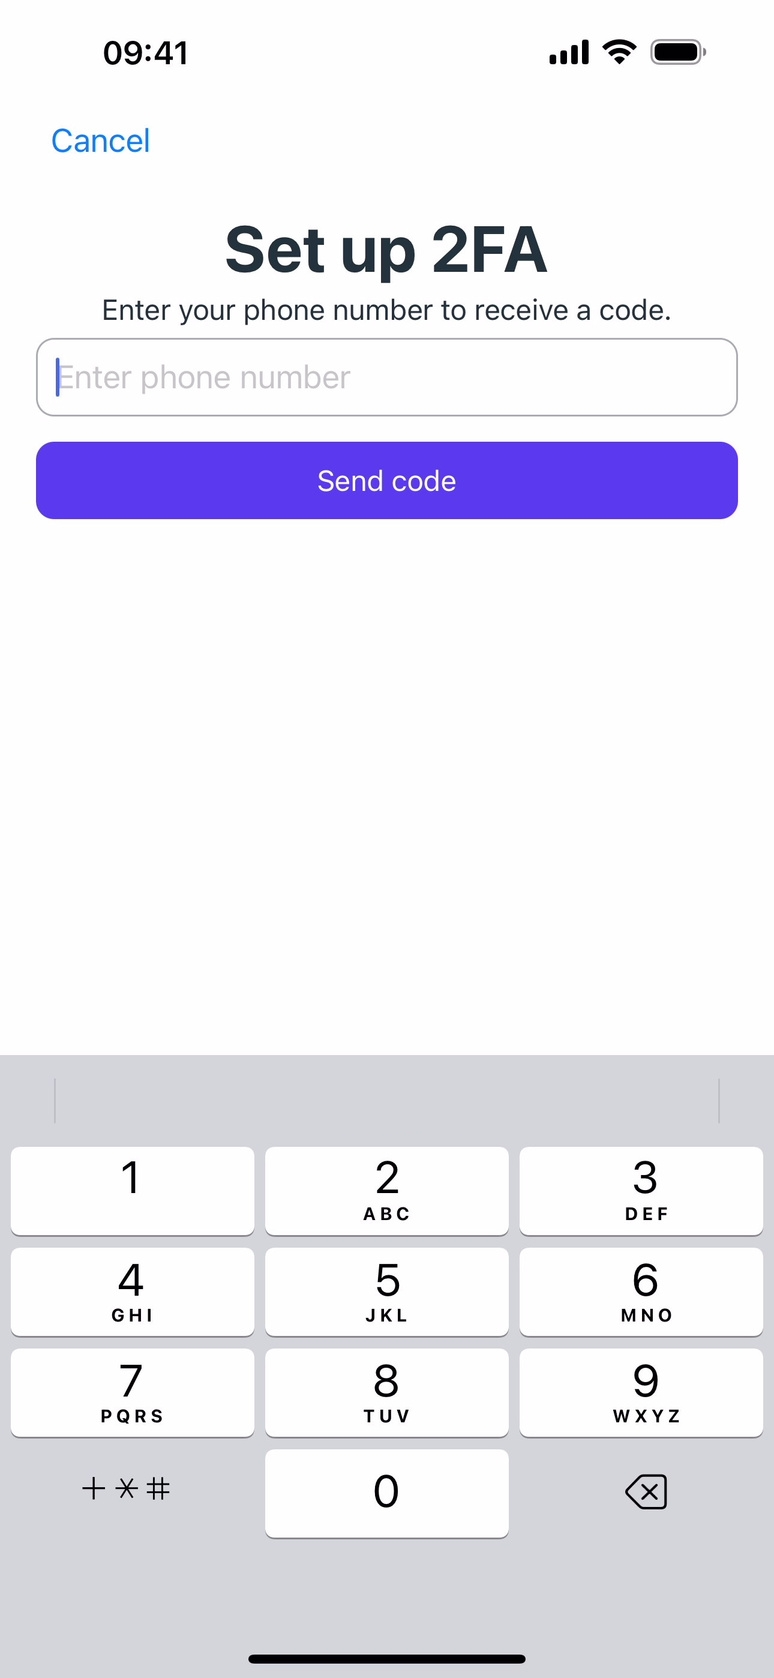
Setup of two-factor authentication
Confirm two-factor authentication
5. Home screen
When you have arrived on this screen you have successfully signed in and can start issuing your Access Badge.
Start by pressing the image of the card and again on the next screen.
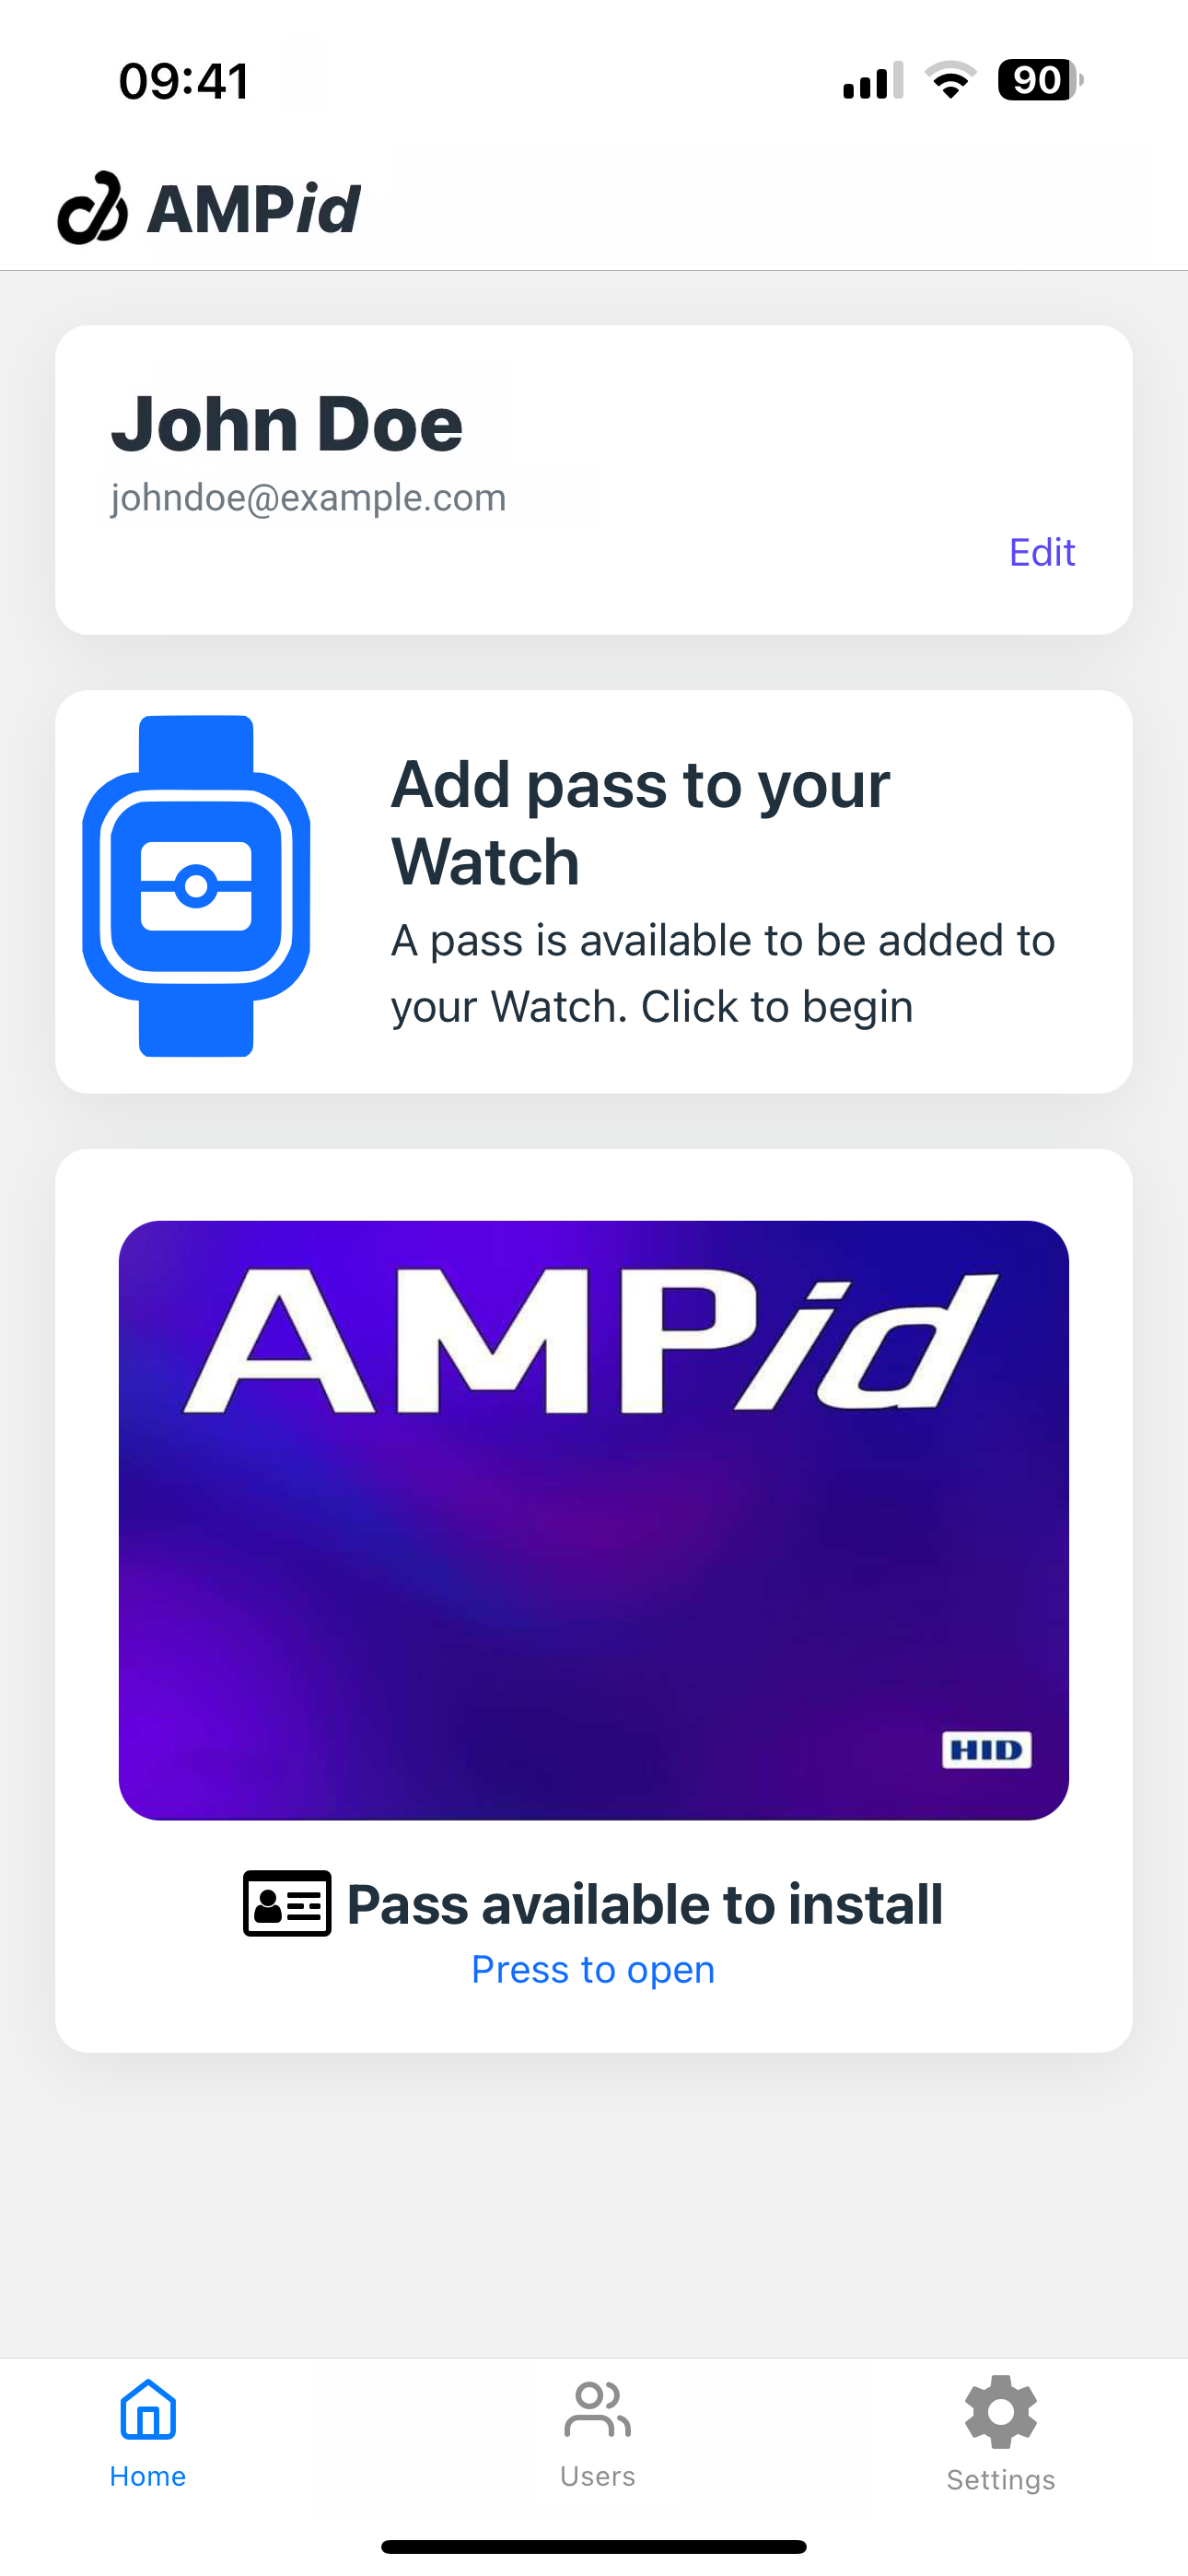
Home Screen
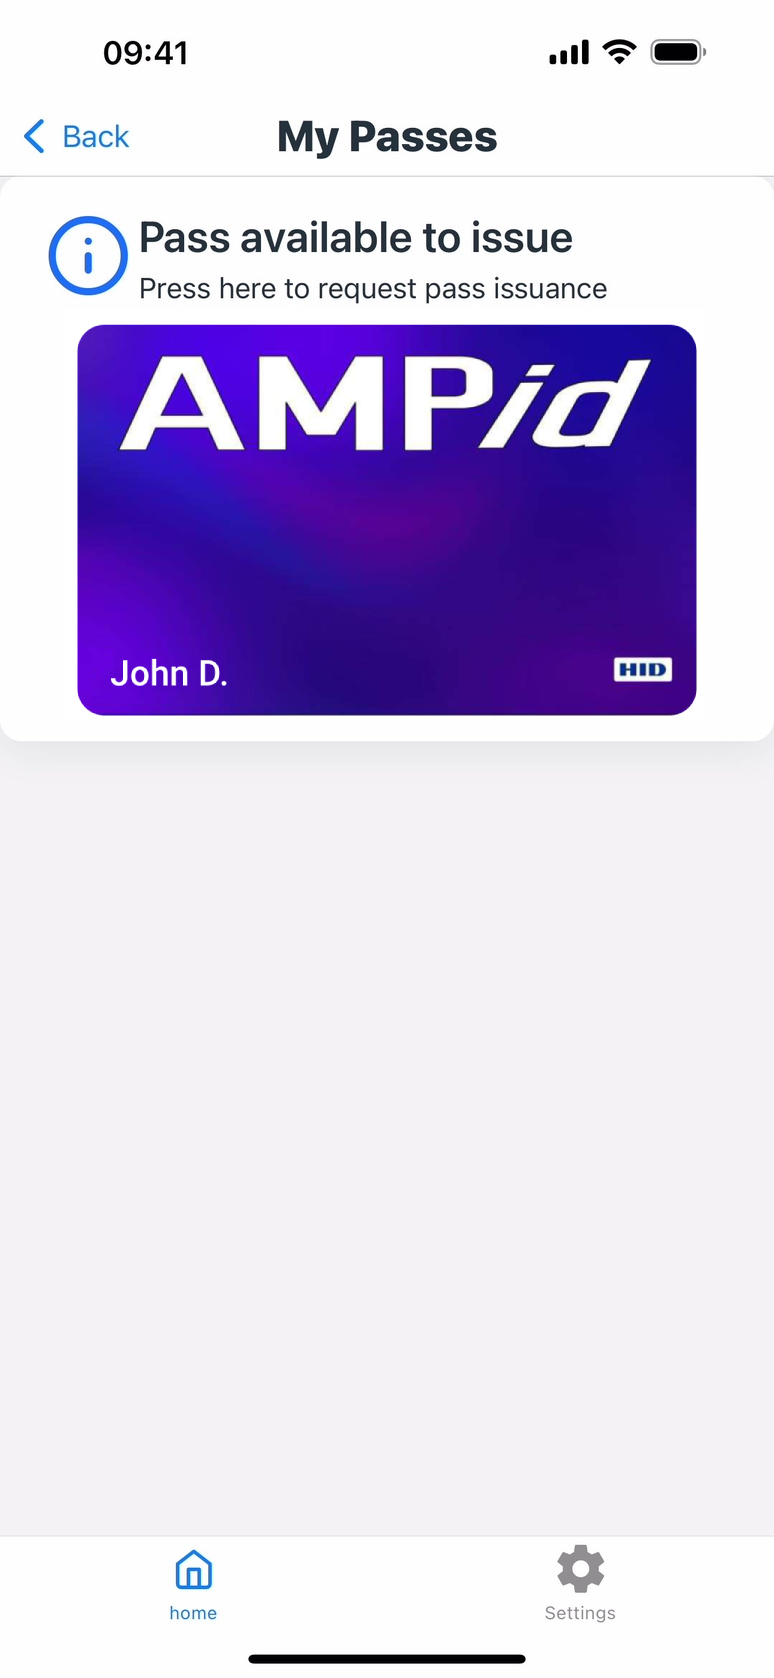
My Passes
NOTE
The pass design will be different for your organisation.
6. Start issuing
- Press the button that says "Request pass issuance" to request an Access Badge.
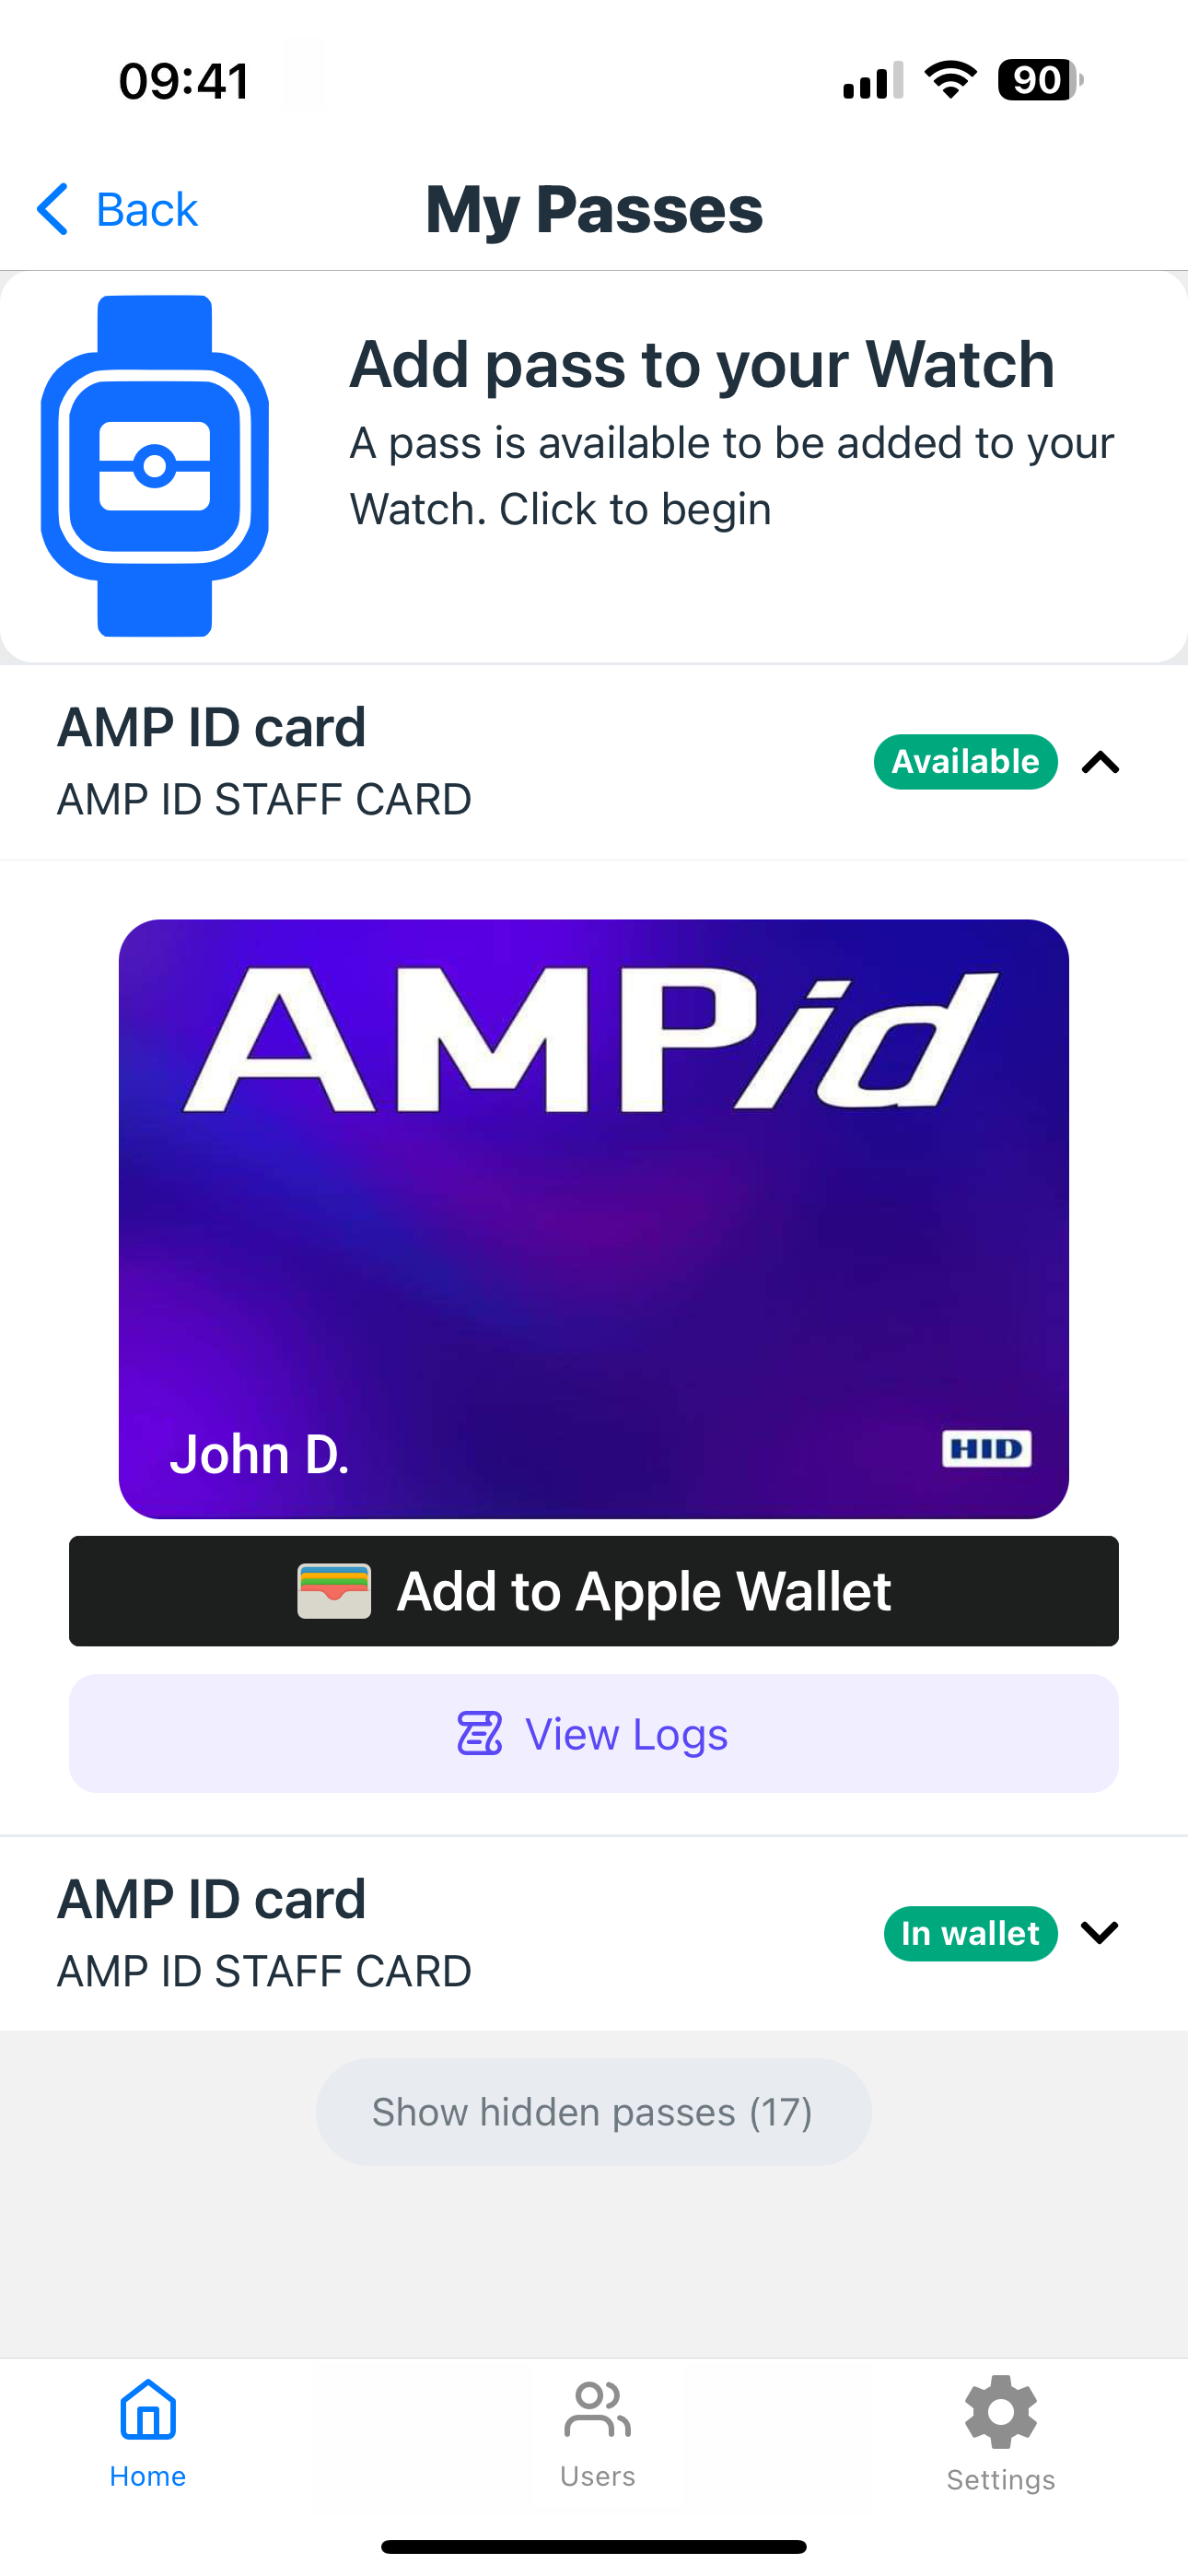
- Access Badge has been issued, now you need to press "Add to Wallet" to add your badge to your digital wallet.
Perform pass issuance request
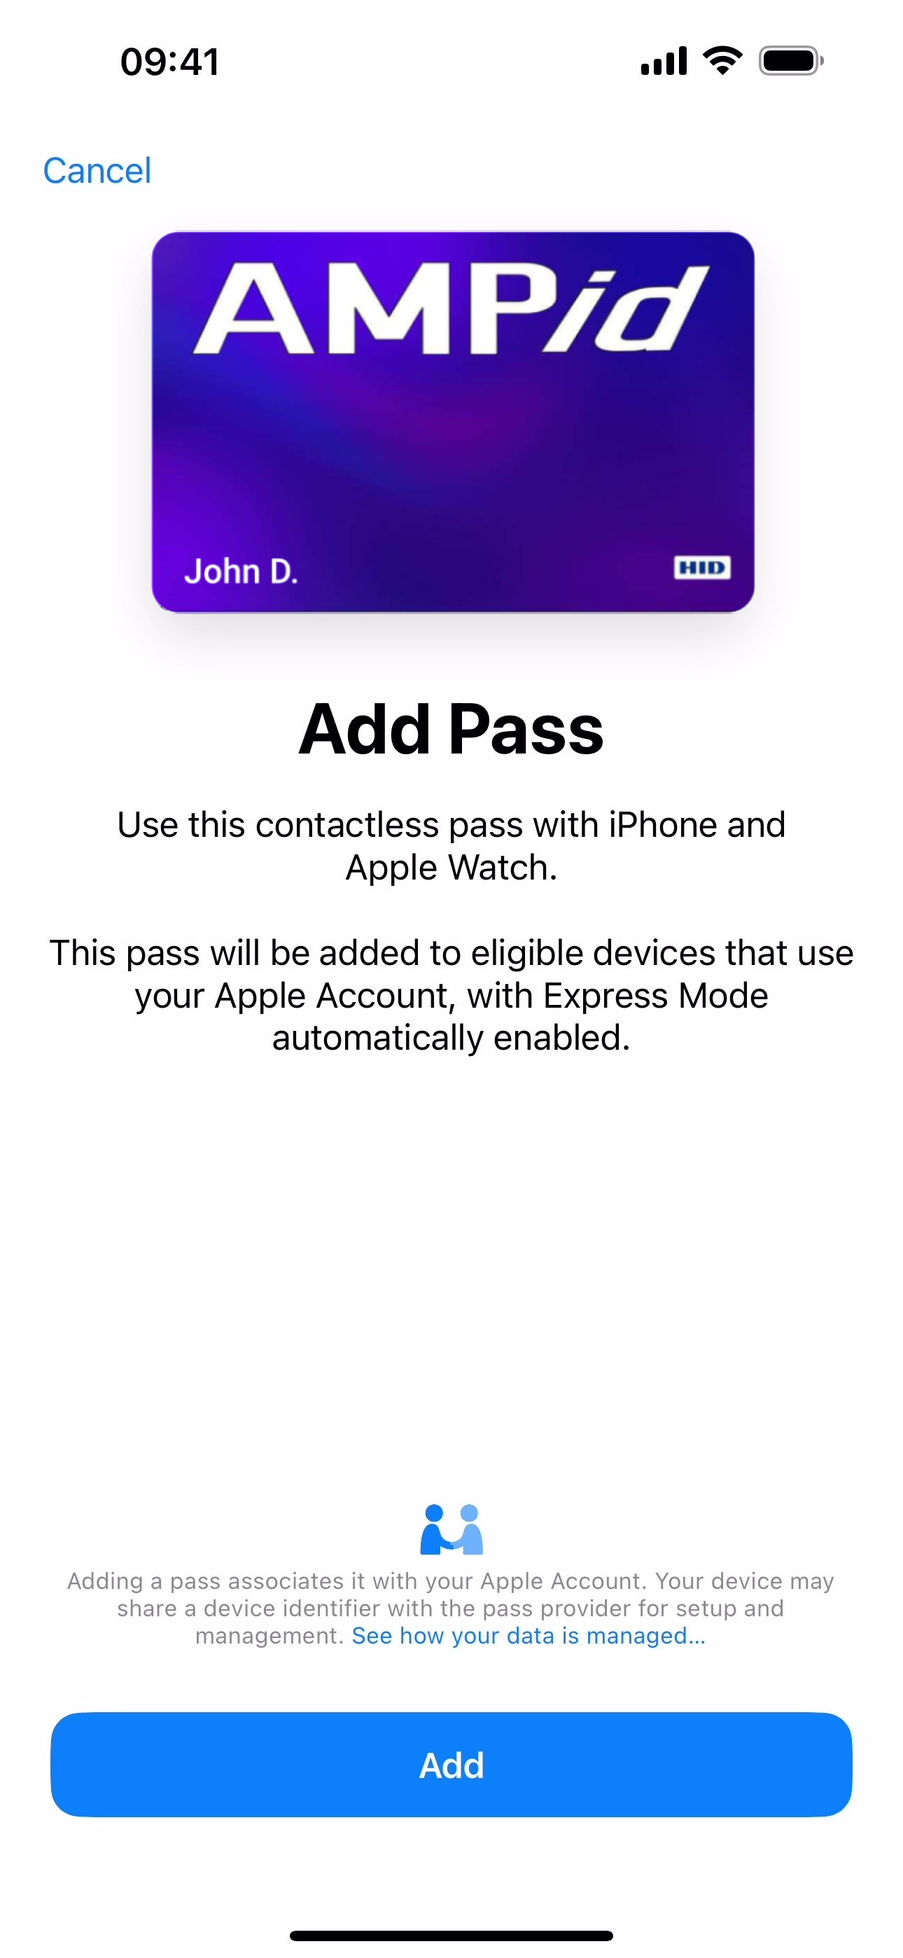
Add badge to Wallet
7. Access Badge issued
- Press the blue "Add" button at the bottom of the screen to finish adding it to Wallet.
- Adding an Access Badge to wallet can take some time, please be patient.
Confirm adding to Wallet
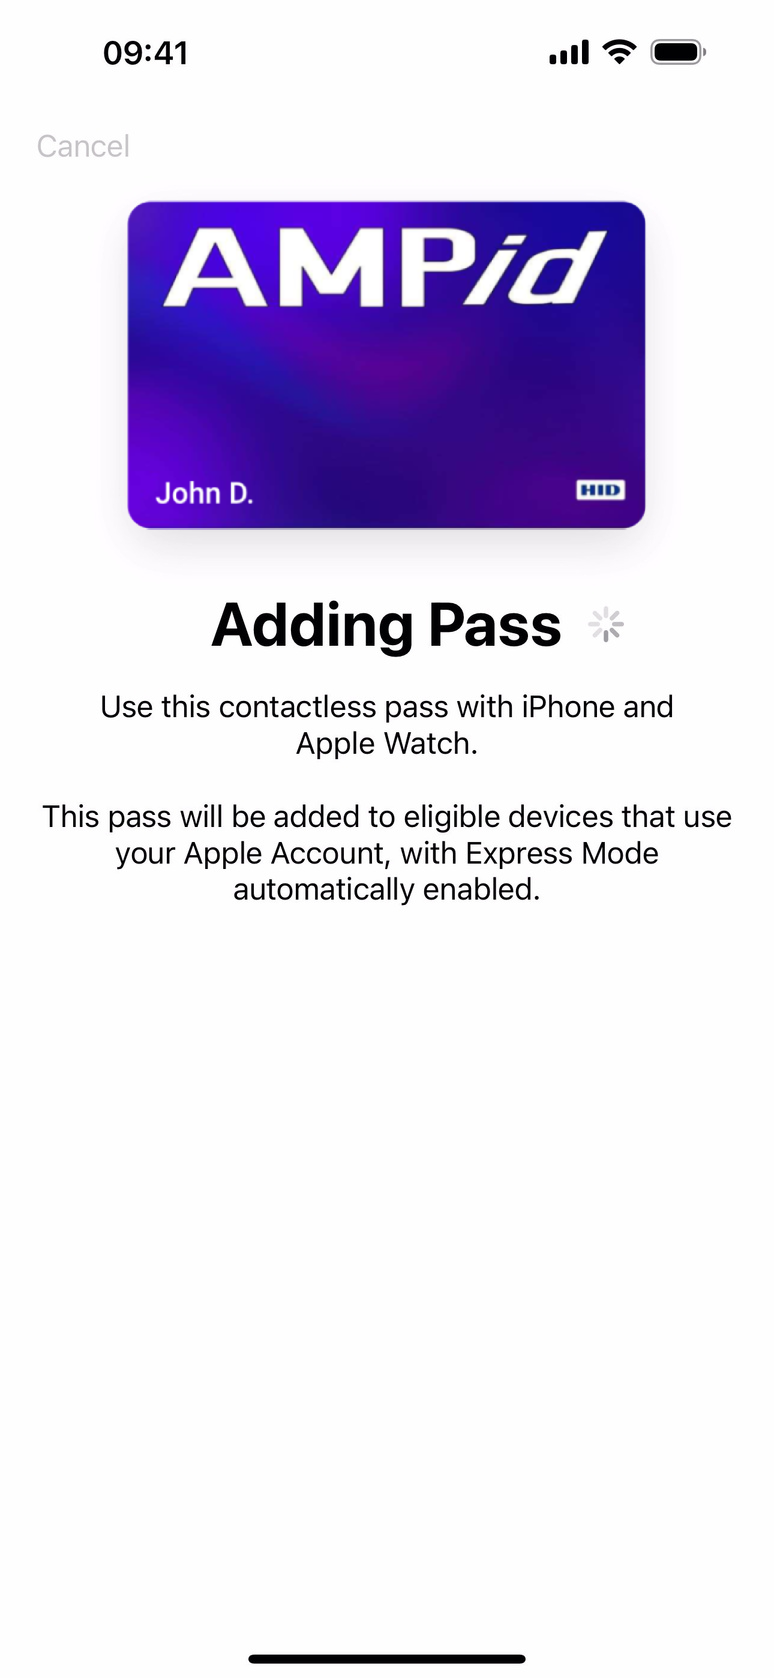
Waiting for Badge to be added
8. Access Badge in digital Wallet app

Access Badge in Wallet